
How to install a tap filter in 5 minutes (no plumber needed)
You do not need to be handy: a tap filter installs in 5 minutes with the supplied adapters. Just follow the guide.
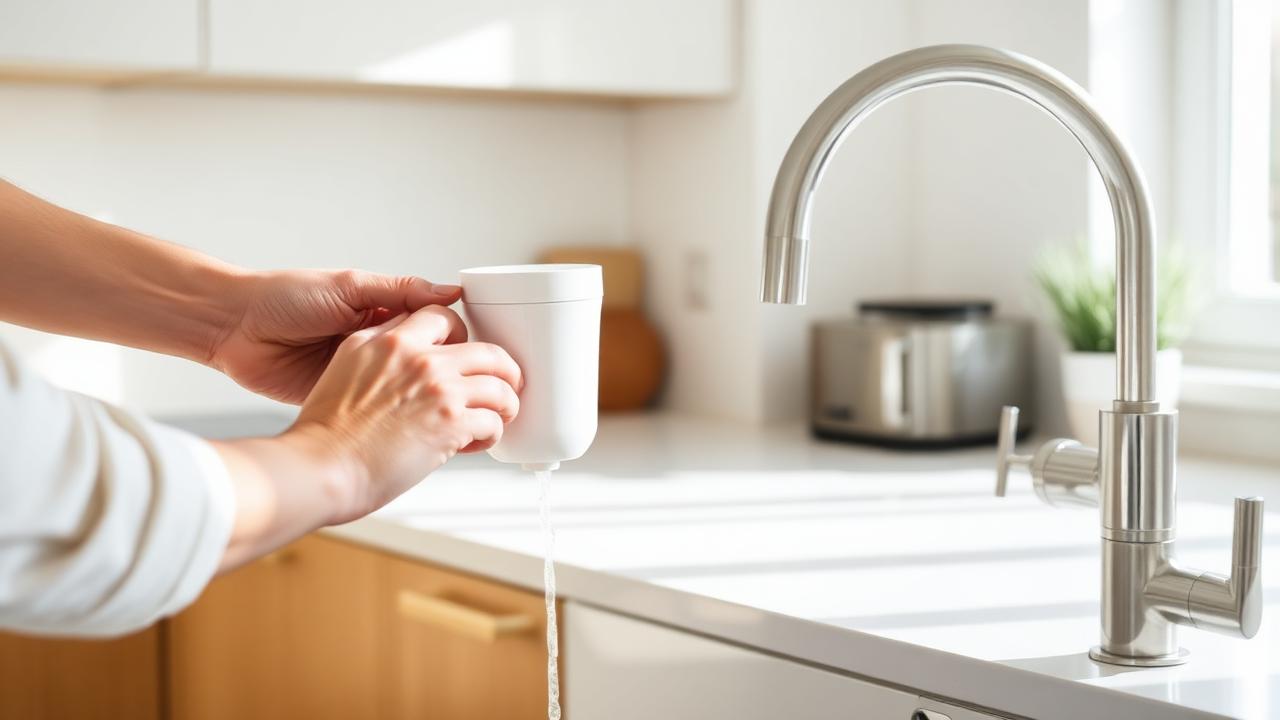
One of the most common barriers to buying a tap filter is the fear of DIY. Good news: no plumbing skills are required. Here is how it works.
Before you start: identify your tap
Three cases cover almost every Swiss tap. Type A: smooth spout, no visible thread. Type B: external thread (male). Type C: internal thread (female), hidden inside the spout. Unscrew the aerator — the small mesh at the tip of the tap — to see which one you have. ClearifyWater supplies the adapters for all three cases.
Installation steps
- 1. Unscrew the existing aerator by hand (or with pliers padded with a cloth if it is stuck)
- 2. Identify your tap type: A (smooth), B (external thread) or C (internal thread)
- 3. Type A tap: slide the universal adapter over the spout and tighten the collar by hand
- 4. Type B or C tap: screw on the matching threaded adapter directly, without forcing it
- 5. Screw the ceramic filter onto the adapter, making sure the seal is seated
- 6. Run cold water for 30 seconds to rinse the cartridge
Mistakes to avoid
- Overtightening: hand-tight is enough, the seal does the work
- Skipping the initial rinse: a new cartridge releases a little carbon dust in the first few seconds
- Using hot water: the filter is designed for cold water only
What next?
The filter has a switch: filtered water for drinking and cooking, direct water for washing up. A standard cartridge lasts 3 to 6 months depending on use and local water hardness. Changing it takes 30 seconds.
And if you have the slightest doubt during installation, our customer support team is available by email 6 days a week.
Ready to taste the difference?
Discover the ClearifyWater ceramic filter — fitted in 5 minutes, customer support 6 days a week.
See the filter